
Some pictures of the Ferrari paint taken during the hillclimb. Noticeable swirls around the car.


More swirl and RID pics.


After some discussion, a date was set for a full detail for the Ferrari.
I contacted my good friend and fellow detailing fanatic KC to assist me in this detail as the job had to be completed within a day. Many thanks to KC for his extremely valuable assistance in what turned out to be a very long detail.
On with the show...
We arrived at the owners house on a cool and wet morning after some overnight rainfall. It was a good day to detail a Ferrari. There was another white car there which I'm sure KC will elaborate on in his blog: .

Plenty of stone chips evident in the front of the car. The foglights also looked like they had been sandblasted. Some wax residue present on the foglights.


The Ferrari badge also had a stone chip on it.


There was a piece string stuck on the front prancing horse, looks a bit like a unicorn after the horn fell off.


KC and I started off by cleaning all of the detailed areas with APC.

Some wax residue on the wipers.


The heart of the beast. This F355 is fitted with a Capristo exhaust and it sounds awesome! Much better than the newer stock 360's and 430's. Didn't detail the engine this time around.

More wax residue inside the fuel filler cap.


More wax! Before and after under the wing mirrors.


More wax residue at the Pininfarina badge. Before and after.


Lots of sand and dust where the bonnet air inlet enters the car. Note the customized Ferrari leather tool bag in the luggage compartment. (Fully detailed by KC in his blog: http://thedetailers.blogspot.com/2009/10/exotic-detailing.html.)


The rear prancing horse detailed by KC.


I worked on the Ferrari wording on the engine cover.


Using some M105 applied with cotton buds.


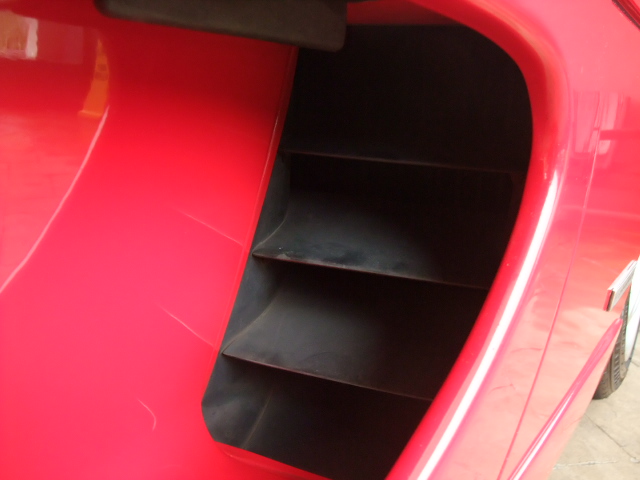
Picture of KC working on the wheels thought one of the many vents on the F355. The wheels were a big challenge with lots of caked on brake dust, etc. KC did a great job on them. Will leave it to KC to post some details on that job in his blog: .

Before and afters on the doors.


Air vents cleaned with APC and dressed with NXT Tech Protect.


On with the interior. Leather everywhere. The Ferrari leather was very soft and also smelled quite good.
Some whitish residue on the leather. Removed with APC and conditioned with Gold Class Aloe Leather Conditioner.


More horses.


On to the paint correction....
Taping up by KC.


Some pictures of the swirls on the paint taken by KC. Pretty bad swirls and random isolated deep scratches (RIDS).


Wash with ONR using a Meguiar's Microfiber Washmitt followed by clay with ONR lube. Demonstrated here by KC.


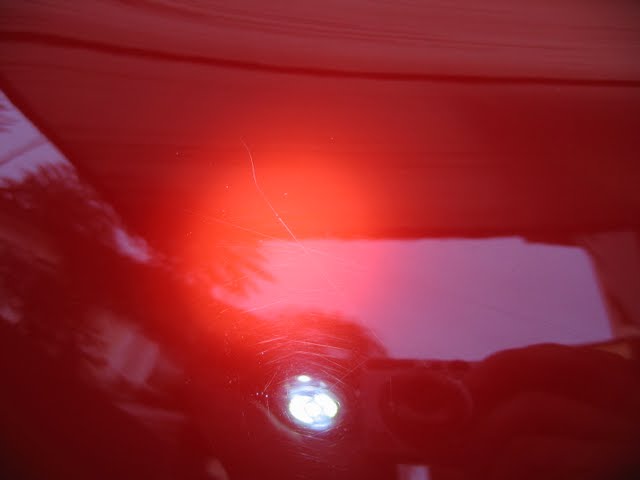
Test area on the hood. If you look closely under the halogen lights, some swirls visible.


KC did the compounding with M105 while I followed up with the M205/W8006 combo.

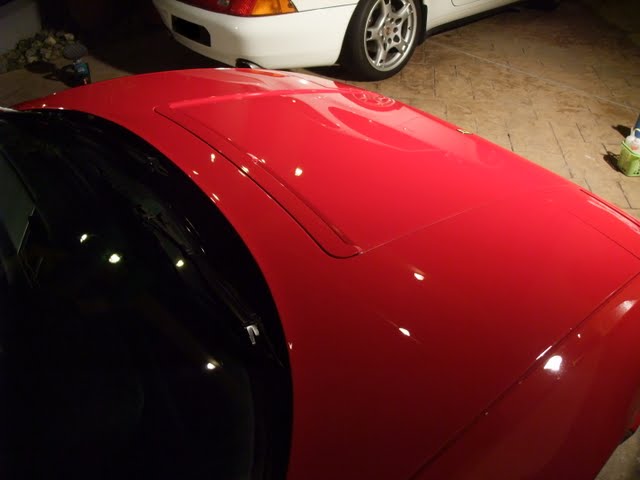
Some nice afters on the hood. The red really stood out with some depth to the paint and a nice glossy wet appearance.


Door mirrors were badly faded and looked different from the rest of the car. Corrected with multiple passes of M205/W8006. There was some paint transfer after polishing so either the door mirrors were painted with a single stage paint or perhaps the clear coat had failed.
The top of the door mirrors were corrected while the lower half was still dull and uncorrected.


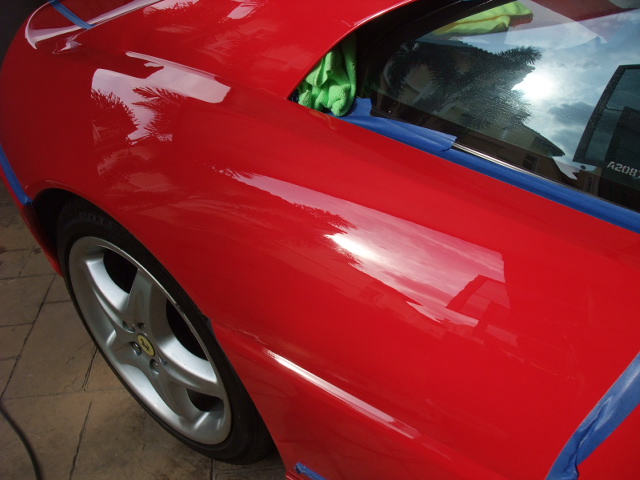
Some great pictures and correction work by KC with M105 on the rear of the car.


Some pictures after I followed up with M205/W8006. This was the only area of the car with some direct sunlight so it was good that we were able to capture some sun shots. Gotta love that glossy wet look to the red Ferrari paint.


All done after 20+ hours from KC and myself. LSP was NXT Tech Wax 2.0 followed by a coat of Opti-Seal and UQD on the glass.

Blurry area on the front of the hood is from the reflection off the roof.


Some final shots. The white car in the picture was also done by KC. I'm sure he will cover it in his blog: .


I must thank my good buddy KC for all of his assistance. It was great working on our first Ferrari with him. Without his help there would have been no way to complete the Ferrari in the allocated time. Cheers KC!
This comment has been removed by the author.
ReplyDeletebro
ReplyDeleteyour the ordinary man who is doing extraordinary thing
pleasure always with you
Keep it up & spinning it