
As with all plans, thing are subject to change....
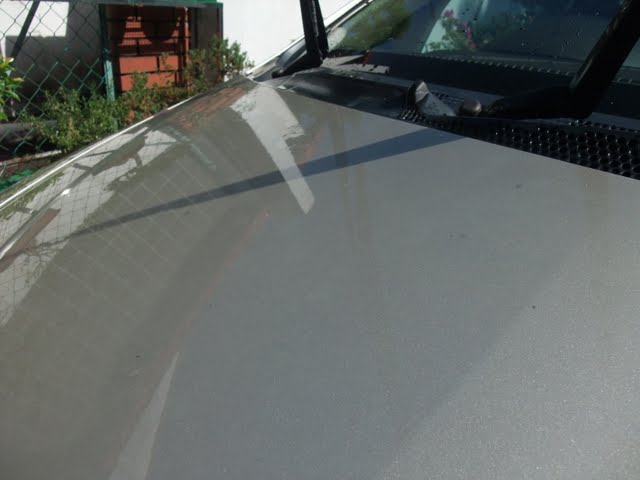
The condition of the car before:


Anyway...

Wetting with a hose again.


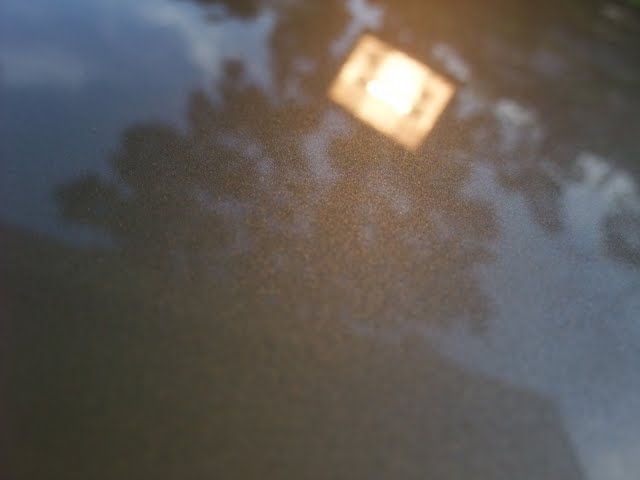
The car was then treated to a full wash with Optimum Power Clean. The idea was to remove any contaminants and then proceed to seal and wax the paint for a quick detail. Unfortunately, even the Optimum Power Clean was not strong enough to deal with some of the stains such as these on the top corner of the roof.

On with Plan B...
To read more about 'Plan B', click the 'Read More..." below.
First the details of the detail.
The wheels were cleaned with Optimum Power Clean followed by Optimum Opti-Seal.


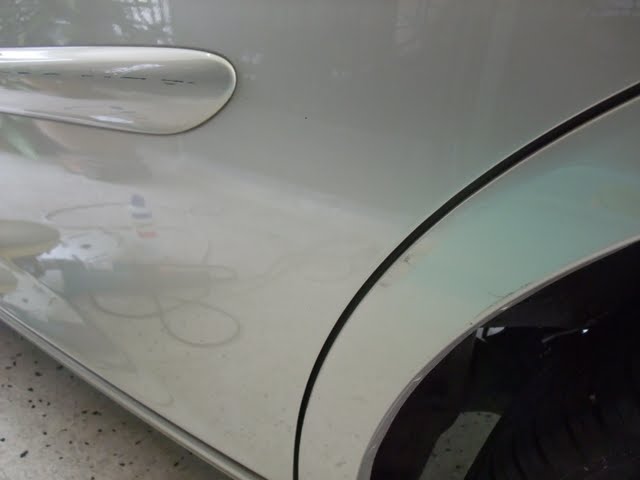
Scratches on the door handle were removed with Meguiar's Scratch-X with a foam applicator pad.


Scratches and other paint transfers were also attended to. The big scratch was too deep to remove but the other minor scratches were taken care off.


On with the paint correction. The problem (or advantage, depending on how you look at it) of gold paint is the difficulty of picking out the swirls and scratches.

As I wanted to keep this a quickish detail, I decided to try Meguiar's M205 on a polishing pad with a rotary. The results were very good and required just one step to achieve the level of correction I was after.
Taping off for a 50/50 in the hope to be able to capture the difference on camera.

As you can clearly see (not!!!) the swirls and minor scratches are clearly visible in this uncorrected section.

Whereas on the corrected side the swirls are completely removed and the reflection of the halogen lamp is more sharply defined.


From the top.... in case you get confused, the left side is corrected and the right side is the original condition.


Lets try another location. How about the boot lid.

At least the swirls are more readily visible in this picture.


50/50. Left uncorrected, right corrected.


The stubborn stains on the corner of the roof were also easily removed with M205.


The scratches and paint transfers were also removed where possible.


Followed up the M205 with Optimum Opti-Seal and Optimum Car Wax. Glass areas were also sprayed with Meguiar's Ultimate Quick Detailer (UQD).


Even the gold paint now had a nice deep gloss to it.


Thanks for looking.
No comments:
Post a Comment